If you’ve ever tried “AI motion control” and ended up with a clip where the camera jitters, the face drifts, or the movement feels like it’s happening to the subject instead of being directed—you’re not alone.
The good news: you don’t need a film-school brain or a complicated node graph to get clean, intentional motion.
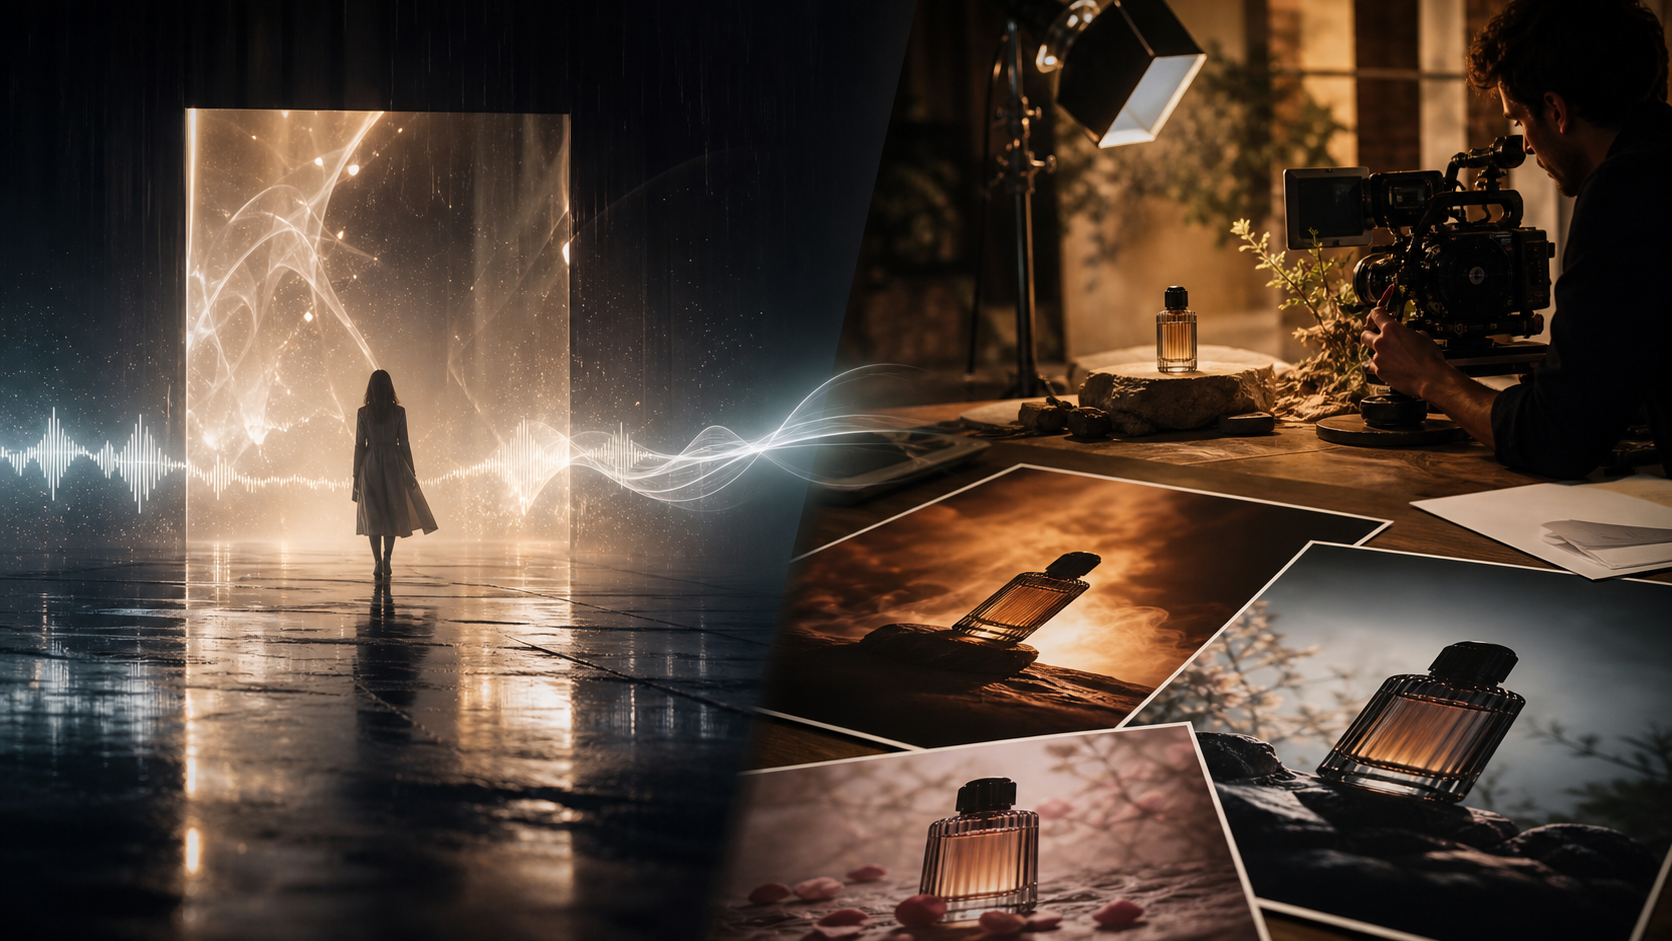
In this guide, you’ll learn a simple creator-friendly workflow: design the motion with Higgsfield Motion Control, then render it cinematically with Kling 2.6 Motion Control—all inside VideoWeb AI.
By the end, you’ll be able to make videos where:
- the camera movement looks planned (not random),
- the subject stays stable,
- and the action feels like a real “shot” with a beginning, middle, and end.
What motion control actually means (in plain creator language)
When people say “motion control” in AI video, they’re usually talking about two things working together:
- Camera motion — how the viewer’s eye moves (push-in, orbit, pan, dolly, tilt)
- Subject motion — what the person/object does (turns, gestures, walks, reaches)
The difference between a messy AI clip and a satisfying one is simple:
Directed motion has intention.
Even a 5‑second clip feels cinematic when you can answer one question:
“Where do I want the viewer to look—second by second?”
That’s why pairing Higgsfield + Kling is so effective. One helps you plan and control the motion, the other helps you render it beautifully.
Why pair Higgsfield Motion Control with Kling 2.6?
What Higgsfield is great at
Higgsfield Motion Control shines when you want motion that’s predictable and repeatable:
- clean camera paths (push, orbit, dolly)
- clear timing (what happens in seconds 1–2 vs 3–5)
- less “random wobble”
Think of it as your shot designer.
What Kling 2.6 is great at
Kling 2.6 Motion Control is your cinematic renderer:
- smooth motion that feels natural
- strong realism and texture
- good “film language” when the shot is well defined
Why the combo works
If you only use a video model without strong motion direction, you’re hoping it guesses your intent.
With Higgsfield + Kling, you do it the filmmaker way:
- decide the shot,
- control the movement,
- render the final look.
Before you start: a quick checklist
You only need a few things:
- One strong reference image (or 1–3 keyframes)
- A simple shot plan (start with 5 seconds)
- A motion script (what moves, how far, and why)
That’s it.
If you’re new, don’t try to make a 12-second masterpiece on the first run. Five seconds is perfect for learning because it forces clarity.
The easy workflow (one sentence version)
Here’s the whole method in one line:
Design motion using Higgsfield Motion Control → render with Kling 2.6 Motion Control → iterate fast until it feels right.
Now let’s do it step by step.
Step-by-step: make your first directed motion clip
Step 1) Pick a shot type (choose one)
Don’t overthink it—pick one movement that fits your goal:
- Push-in: great for portraits, products, emotional emphasis
- Orbit: great for a “hero reveal” or showing an outfit
- Dolly + pan: great for lifestyle scenes, walking shots
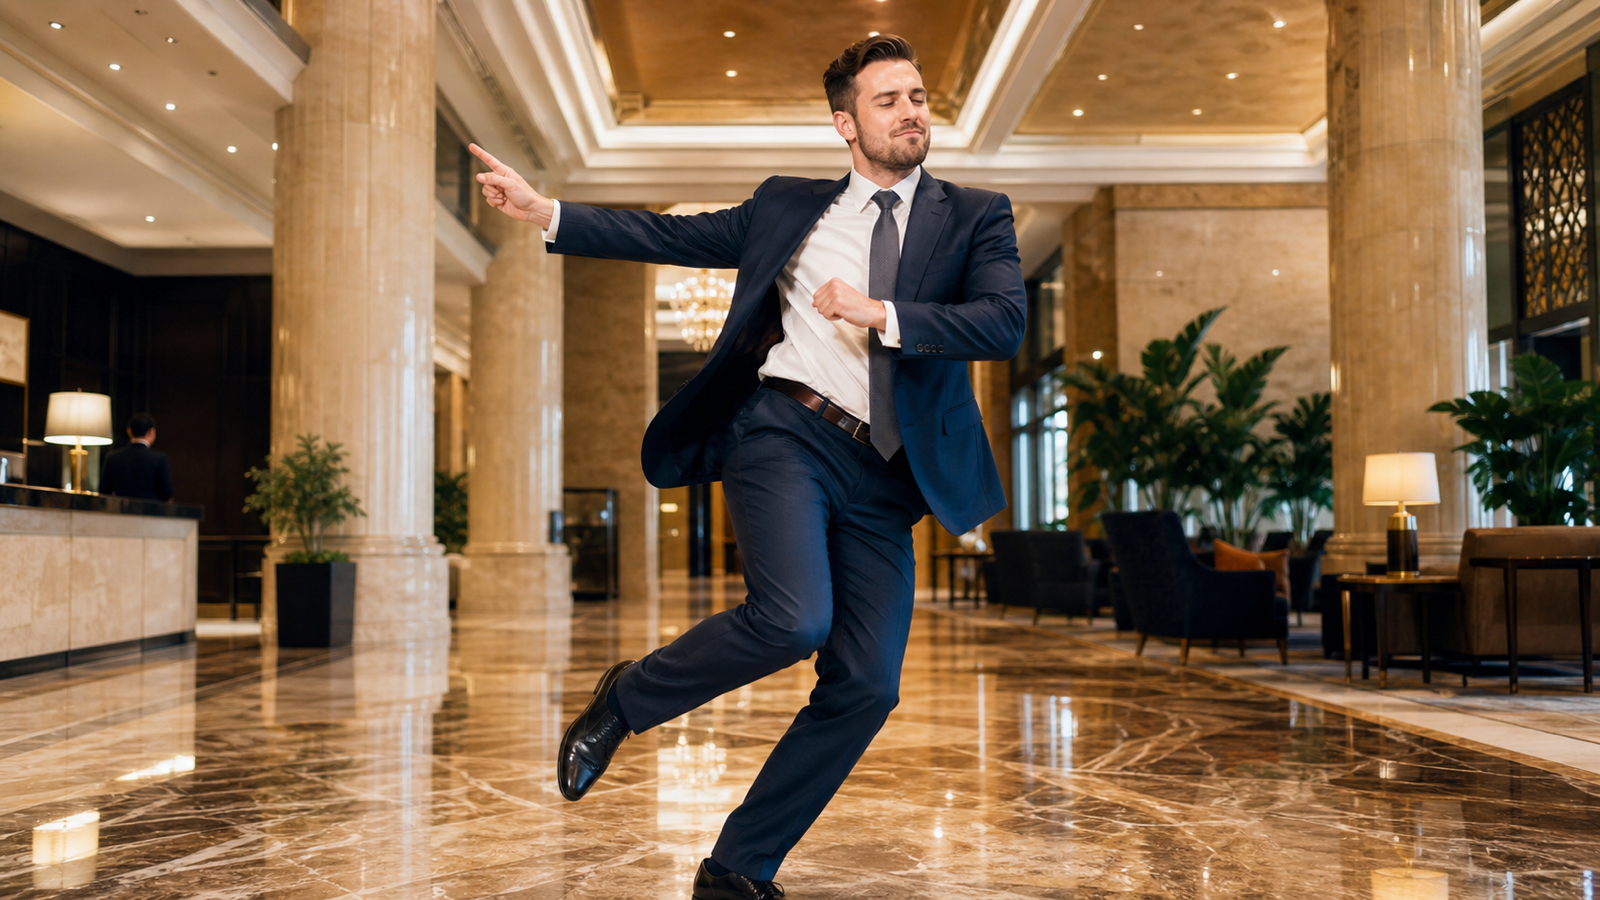
If you’re creating influencer-style content, push-in is the easiest to get stable.
Step 2) Write a motion-first prompt (this is the secret)
Most people write prompts like a poster:
“A beautiful woman in a cafe, soft lighting, cinematic.”
That’s fine—but motion control needs one more layer:
Your prompt must tell the model how the viewer’s eye moves.
A good motion-first prompt includes:
- Subject + setting (short)
- Camera move (clear)
- Subject action (simple)
- Timing (optional but powerful)
Here’s a simple structure you can reuse:
Prompt formula:
Subject + Scene. Camera movement. Subject movement. Style/lighting. Stability notes.
Example:
“A young creator in a modern cafe, natural daylight. Slow push-in toward the face, steady camera. The subject smiles and slightly turns their head, subtle hand gesture. Cinematic, realistic, soft depth of field. Keep face consistent, no warping.”
That’s already enough to create a strong Motion Control AI Influencer Video clip that feels intentional (not random).
Step 3) Design the movement with Higgsfield
Open Higgsfield Motion Control and treat it like a motion planner.
When you design the motion:
- start with one clean camera move
- keep the movement slow
- avoid mixing multiple directions at once (like orbit + dolly + tilt)
Beginner-friendly settings mindset:
- “Less movement, more stability.”
- If it looks slightly too subtle, that’s usually perfect after rendering.
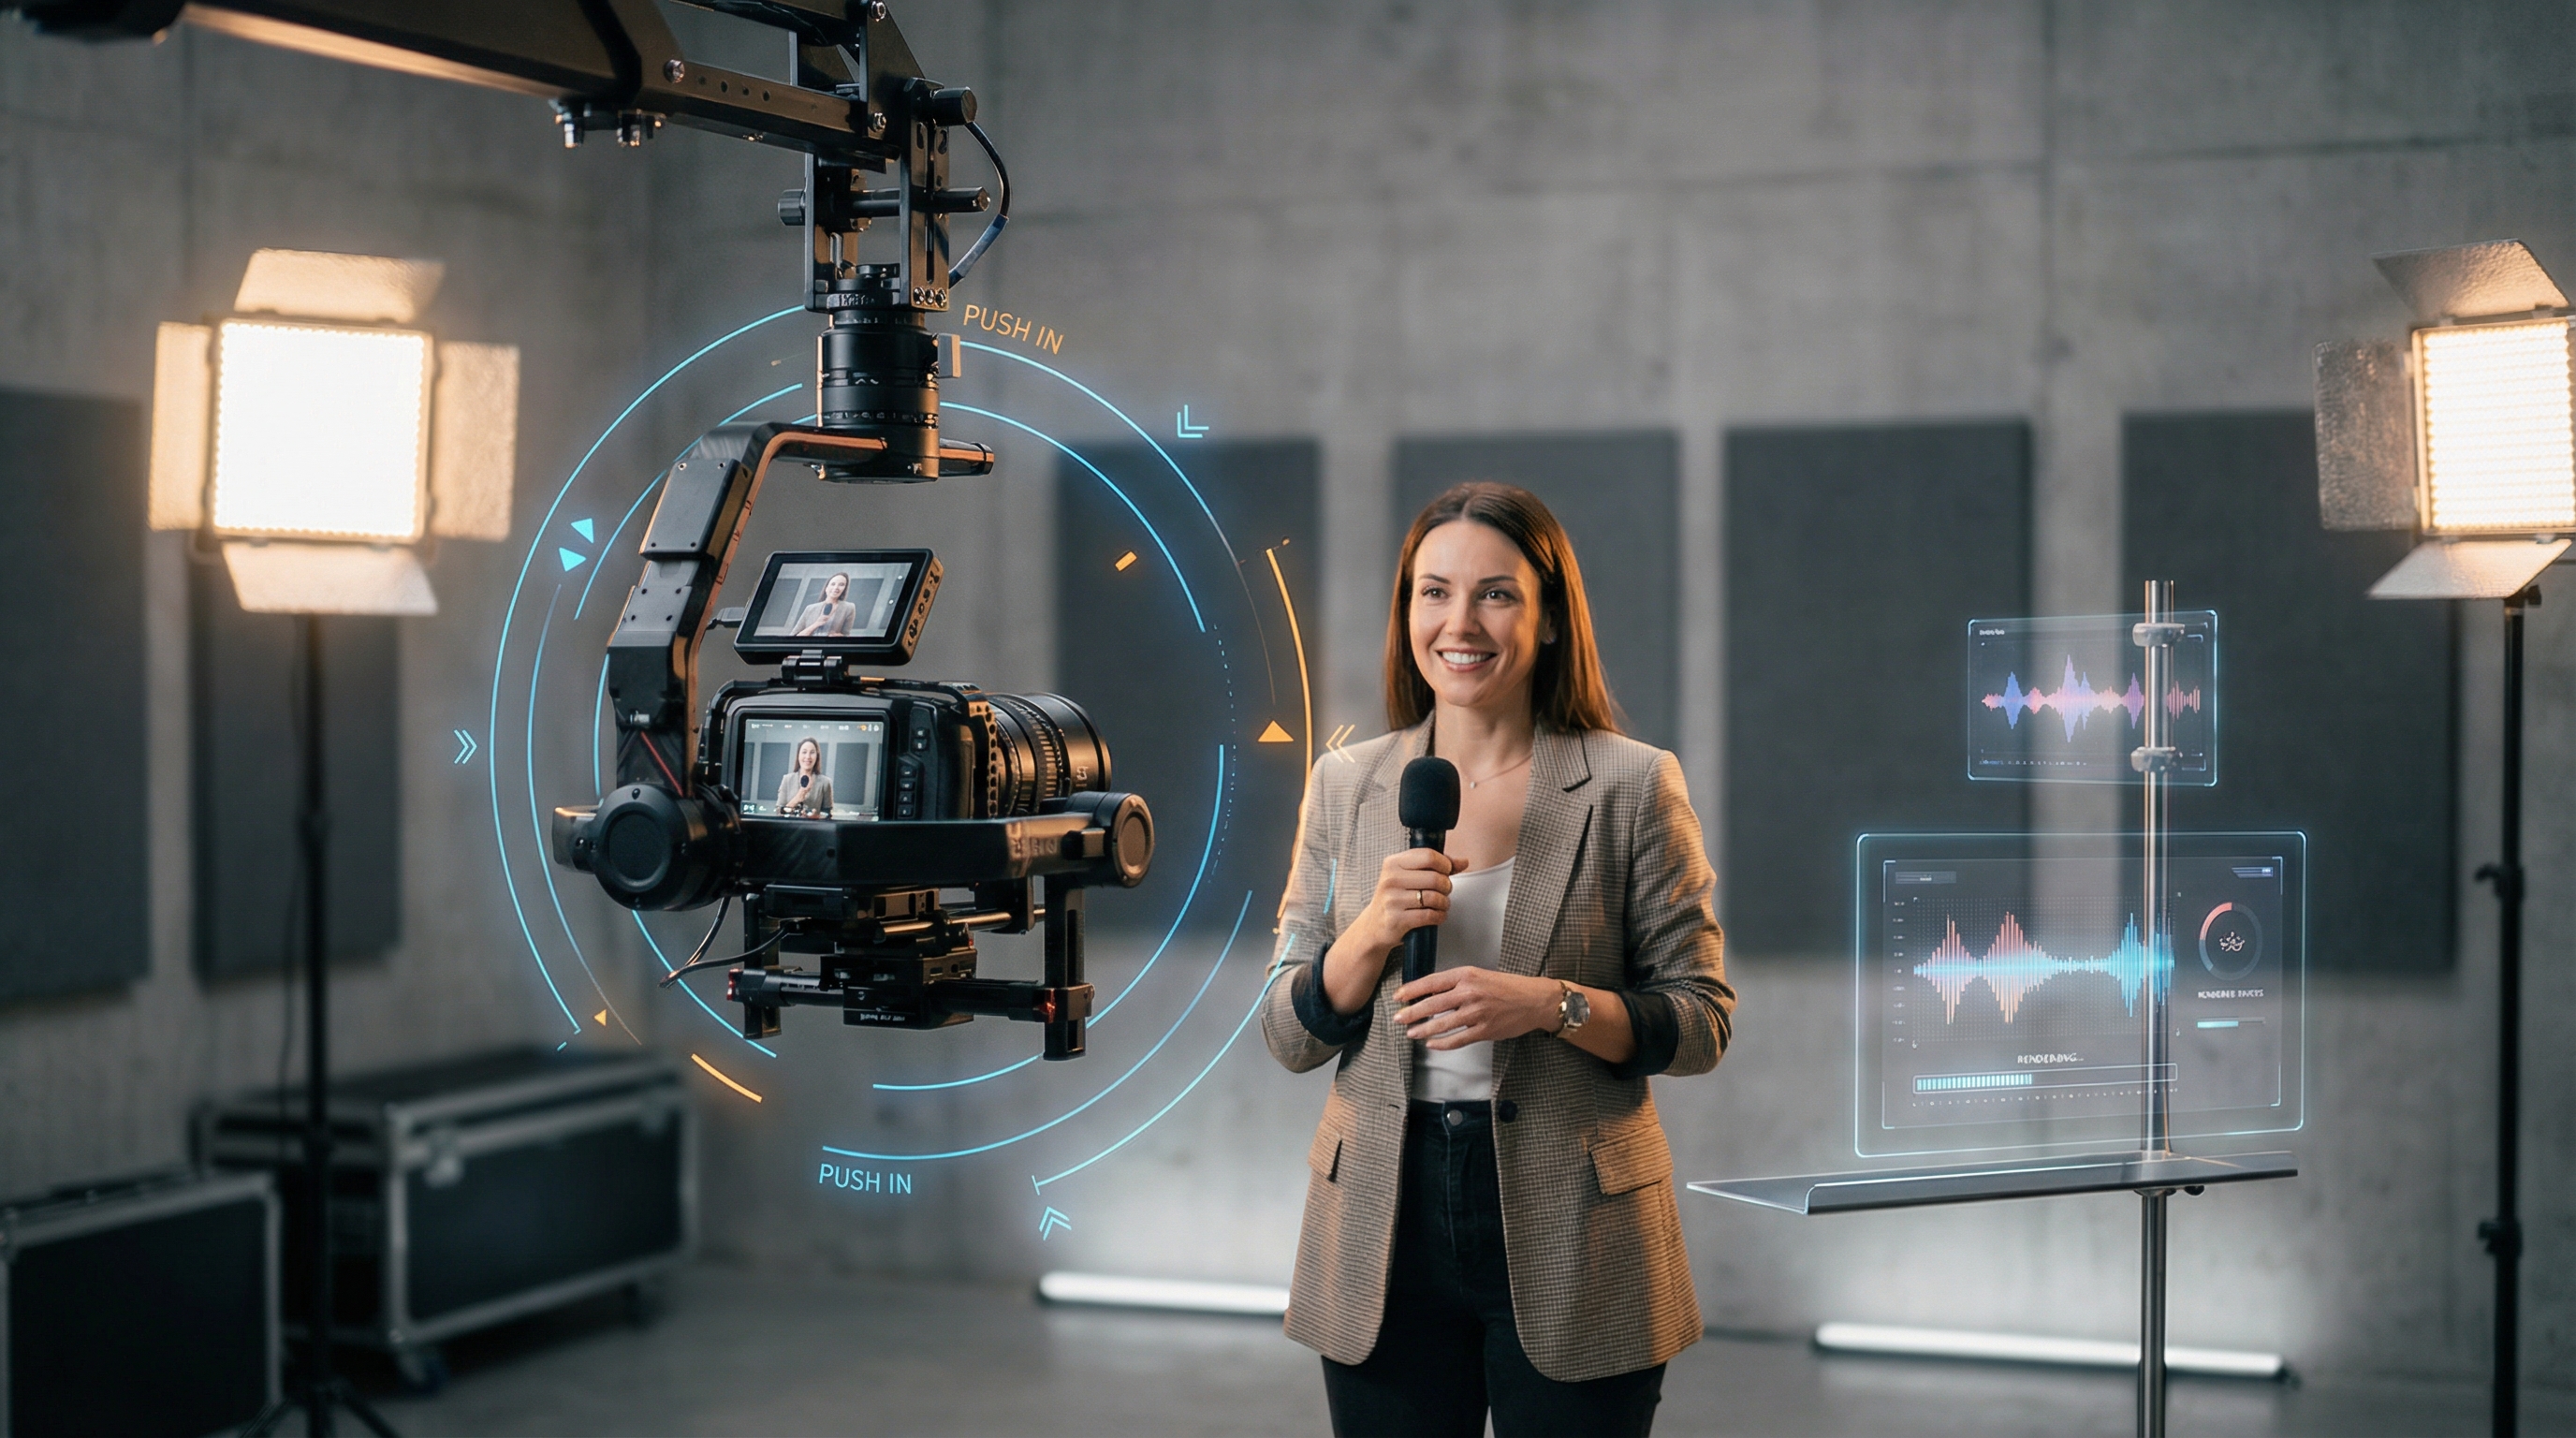
Step 4) Render with Kling 2.6 (creator settings that work)
Now jump into Kling 2.6 Motion Control and keep it simple:
-
Duration: 5 seconds for your first runs
-
Aspect ratio: match your platform
- 16:9 (YouTube)
- 9:16 (Shorts/Reels/TikTok)
- 1:1 (feeds)
-
Audio: keep it off until motion is stable
This section is basically your core Kling 2.6 Motion Control Tutorial routine: small clips, fast tests, clear motion.
Copy-paste prompt templates (3 practical starters)
Below are templates you can paste, then swap the details.
Template 1: Influencer intro (easy + stable)
Perfect for that clean, natural Motion Control AI Influencer Video look.
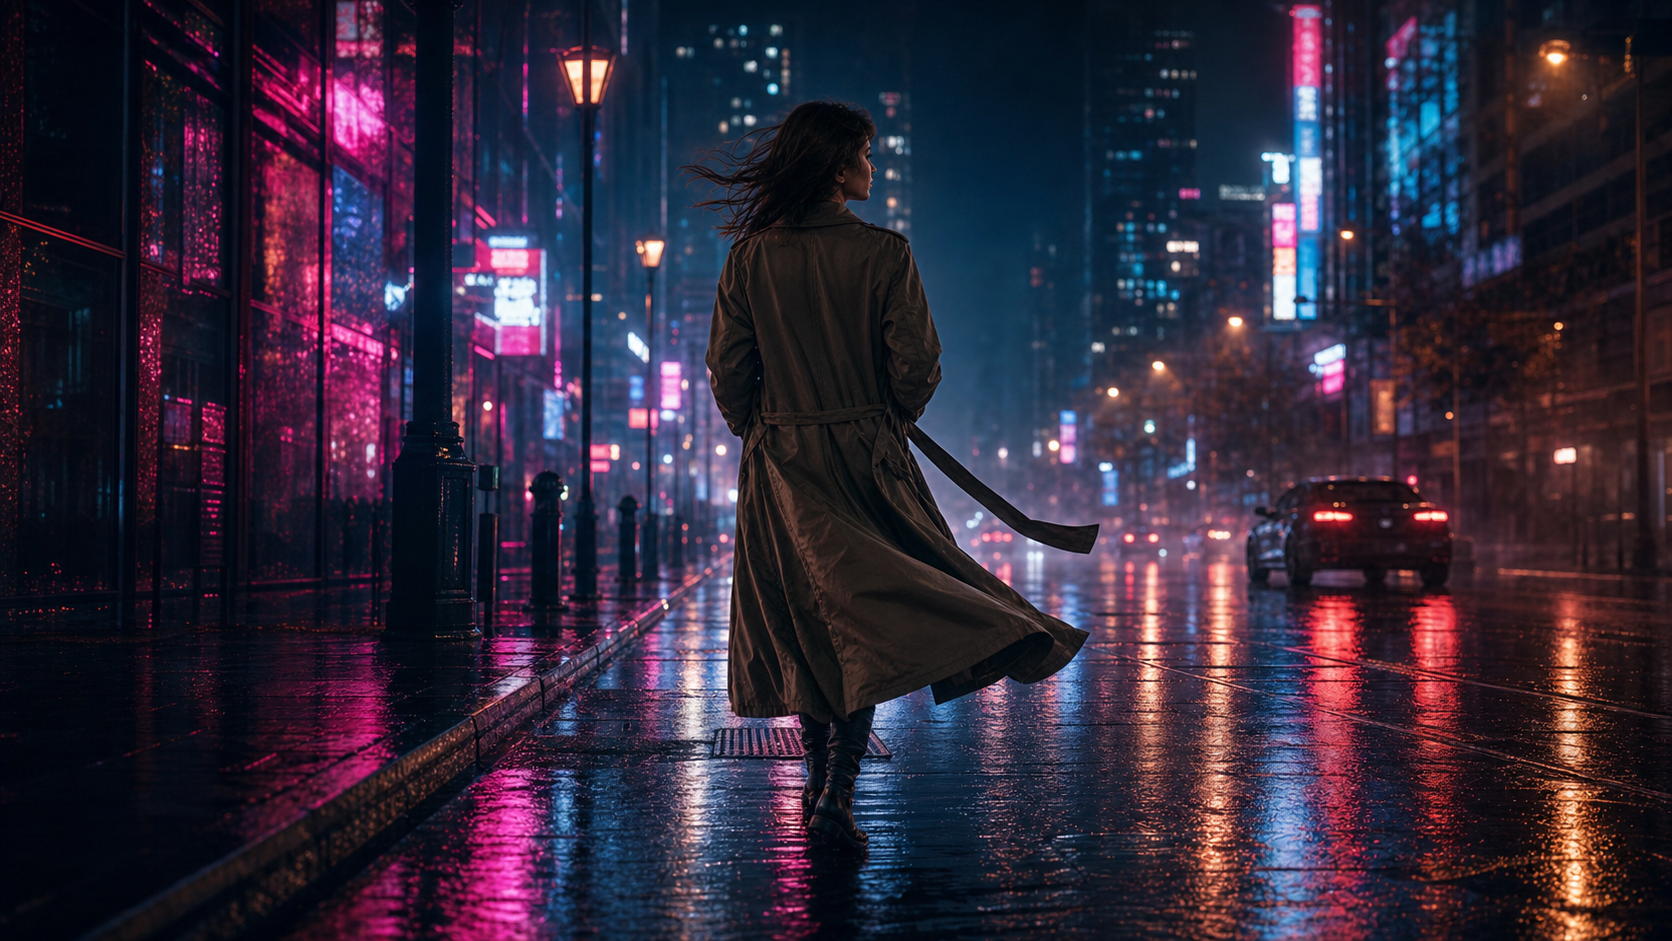
“A confident creator speaking to camera in a cozy studio, soft daylight. Slow push-in toward the face, steady camera. The subject smiles, blinks naturally, and gestures lightly with one hand. Realistic cinematic look, shallow depth of field. Keep identity stable, no facial drift, no background warping.”
Template 2: Product reveal (simple and effective)
“A premium skincare bottle on a marble counter, warm morning light. Slow push-in toward the label, slight parallax, steady camera. A hand gently rotates the bottle once. Photorealistic, crisp details, clean reflections. Keep text readable, avoid warping.”
Template 3: Outfit / fashion turn (orbit + stability)
“A stylish model in a minimalist hallway, soft cinematic lighting. Slow orbit around the subject at a medium distance, steady camera. The subject does a gentle half-turn and adjusts their jacket. Realistic fabric texture, clean motion. Keep face consistent, no limb distortion.”
How to iterate without wasting credits (the “unlimited-feeling” method)
A lot of people burn credits because they change everything at once.
Instead, iterate like a pro:
The rule: change only one variable per attempt
- If motion is wrong → adjust motion only.
- If face drifts → strengthen identity/stability notes.
- If texture is weak → adjust style/lighting, not motion.
The three-pass method
- Pass 1: Motion correctness (does the camera move right?)
- Pass 2: Identity stability (does the face stay consistent?)
- Pass 3: Polish (textures, lighting, cinematic tone)
When you do this, you get an Unlimited Kling Motion Control workflow feel—because each run has one purpose, and you converge fast.
Troubleshooting: fix the most common motion-control problems
1) The camera jitters or shakes
Fix: simplify the path and slow it down.
- avoid “orbit + push + tilt” combos
- pick one motion direction
2) The face drifts over time
Fix: reduce motion intensity and reinforce stability.
- use gentler movement
- add “keep identity stable, no facial drift”
3) Limbs look rubbery
Fix: reduce fast actions.
- change “waves rapidly” → “small hand gesture”
- slow the motion
4) Background warps (especially lines/walls)
Fix: keep the scene simpler.
- fewer complex patterns
- consistent lighting
5) “Nothing happens”
Fix: add one clear action beat.
- “smiles and nods once”
- “turns head slightly”
- “hand rotates bottle once”
When to use Higgsfield vs Kling (and when to combine)
Use Higgsfield when you need:
- predictable, repeatable motion
- clean camera direction
- stable shot structure
Use Kling 2.6 when you want:
- cinematic realism
- smooth, natural motion
- fast rendering for short clips
Use the combo when:
You’re producing creator content at scale—ads, UGC, reels—and you want motion that looks planned, not improvised.
The easiest way to run this workflow: do it on VideoWeb AI
If you want the smoothest “no tool-hopping” experience, the simplest approach is to do the whole workflow inside VideoWeb AI:
- Plan the motion using Higgsfield Motion Control
- Render it cleanly using Kling 2.6 Motion Control
- Follow the repeatable loop from this Kling 2.6 Motion Control Tutorial process
- Scale your iterations using an Unlimited Kling Motion Control mindset (fast, purposeful variation)
If you only remember one thing, make it this:
Start with a 5-second clip and one camera move.
Once that looks good, everything else becomes easy—longer shots, more complex actions, better storytelling.
FAQ
Do I need perfect prompts for motion control?
No. You need clear motion intent. One clean movement + one simple action beat beats a long, poetic prompt.
What’s the fastest way to stabilize faces?
Use gentler motion, avoid fast head turns, and explicitly ask for identity stability (“no facial drift”).
What shot types look most cinematic in short-form?
Push-in and slow orbit. They’re dramatic but still stable.
How do I make influencer-style clips feel natural?
Keep actions small: blink, smile, slight head turn, one hand gesture. That’s the core of a clean Motion Control AI Influencer Video look.