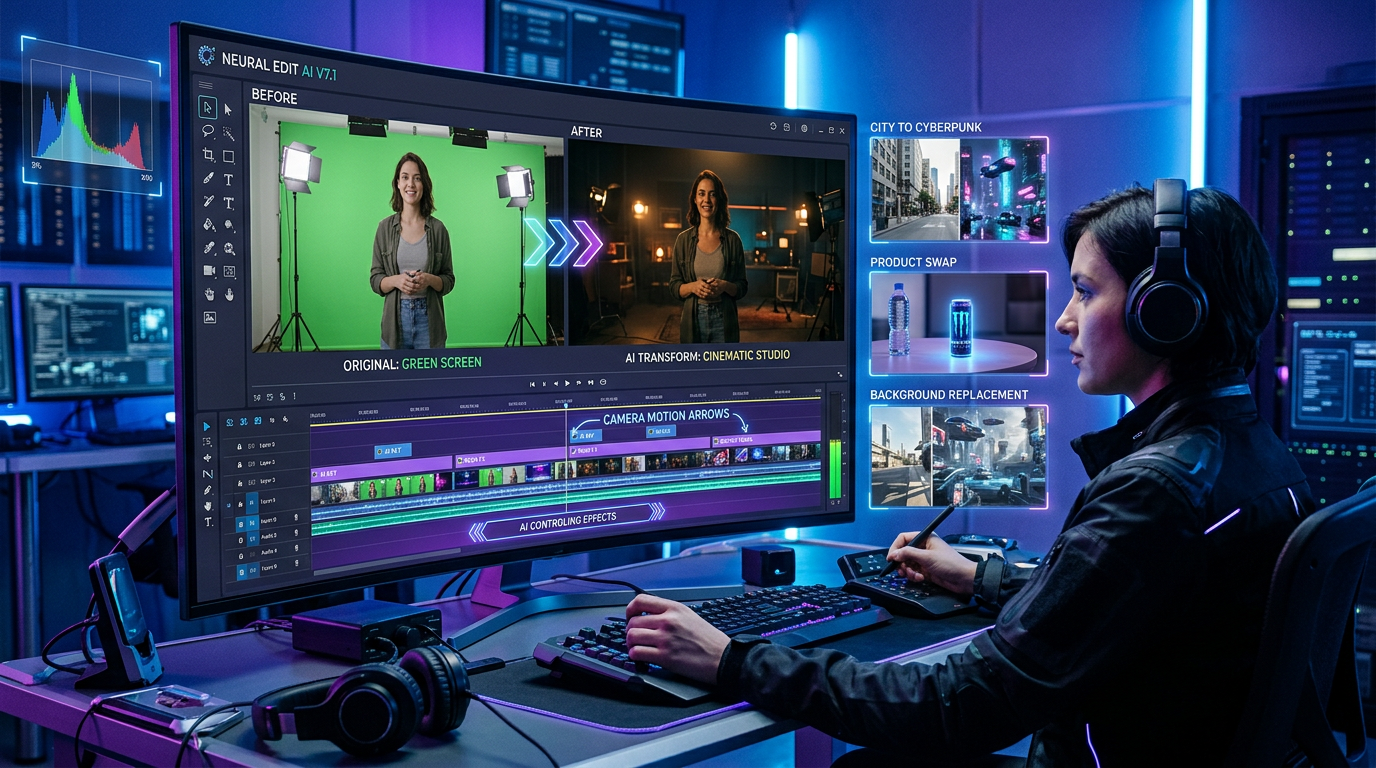
AI video generation is no longer only about creating a clip from a text prompt. Many creators already have footage they like, but the footage may need a better background, a different visual style, a new product, a cleaner commercial look, or a more polished social media setting. That is where an AI video editor becomes useful: it helps modify existing videos without forcing creators to reshoot everything from the beginning.
Happy Horse AI is especially interesting for this kind of workflow because its editing logic is built around controlled changes. Instead of asking the model to invent a brand-new video from zero, the user can upload footage and describe what should be replaced, restyled, preserved, or enhanced. This makes it practical for background replacement, style transfer, outfit changes, product swaps, scene transfer, green screen-style edits, and commercial video refinement.
For creators searching for AI video editing, the core idea is simple: the best editing prompt should clearly separate what to change from what to keep. A vague prompt like “make this video look better” gives the model too much freedom. A better prompt says, “Replace the background with a luxury hotel lobby, keep the person’s face and walking motion unchanged, and adjust the lighting to warm golden tones.” That kind of instruction gives the model a real editing plan.
This guide explains how to use HappyHorse-style video editing for scene changes, style conversions, background replacement, subject replacement, and multi-element edits. It also includes prompt templates that can be adapted for social clips, product videos, short dramas, creator content, and AI video ads.
What HappyHorse Video Editing Can Do
HappyHorse video editing is designed for creators who already have a source video and want to modify it intelligently. Instead of regenerating a clip from scratch, the model uses the original footage as the base. The subject’s actions, motion path, composition, and timing can be preserved while selected elements are changed.
This makes video editing AI useful in several common situations. A creator may want to replace a green screen with a studio background. A brand may want to change a product in an existing ad. A fashion seller may want to test different outfits on the same walking footage. A short-drama creator may want to turn a modern room into an ancient palace or a futuristic control center. A social media editor may want to turn ordinary footage into a more cinematic, stylized, or branded clip.
The most important rule is to write the prompt like an editing brief. The model needs to know the target change and the protected details. A practical prompt often follows this structure:
Replace [old element] with [new element], while keeping [subject / face / action / camera / lighting / background / audio] unchanged.
For example:
Replace the plain white wall behind the speaker with a modern podcast studio, warm lighting, blurred shelves, and soft depth of field. Keep the speaker’s face, gestures, voice, and camera framing unchanged.
This style of prompt is more effective than simply saying “make the background better” because it gives the AI video editor a direct task.
Style Transfer: Turn Real Footage Into Anime, Cyberpunk, or Film Looks
Style transfer means changing the look of a video while preserving the original subject, action, composition, and camera movement. It is one of the most popular uses of AI style transfer video because it can transform ordinary footage into something more distinctive without changing the basic content.
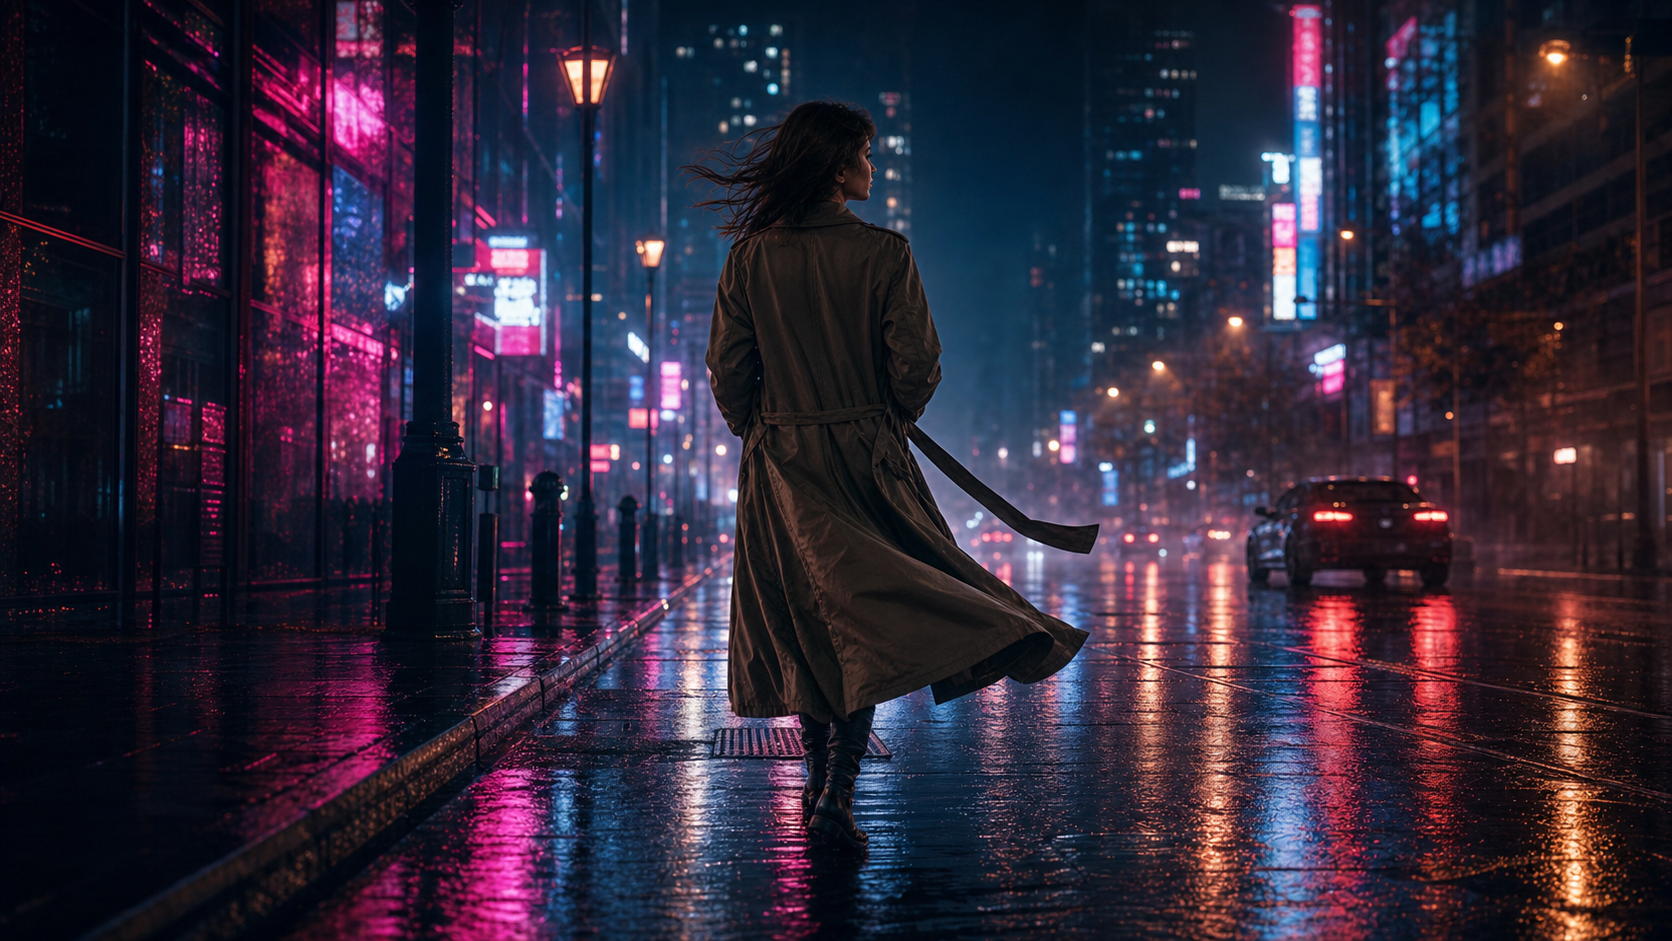
For example, a simple street clip can become a cyberpunk scene with neon reflections and rainy-night color grading. A travel video can become a vintage film sequence with soft grain, warm tones, and lower contrast. A creator’s talking-head video can become an anime-inspired clip, a dreamy watercolor scene, or a polished commercial-style shot.
The best style transfer prompts are specific. Instead of writing “make it artistic,” describe the target look. Say “Japanese animated film style with soft pastel colors and hand-painted background texture,” or “cyberpunk city style with blue-magenta neon reflections, wet pavement, and high-contrast lighting.” The more concrete the style language is, the easier the model can follow it.
A useful style transfer prompt might be:
Transform this video into a cinematic cyberpunk style with neon reflections, rainy-night atmosphere, cool blue lighting, and sharper contrast. Keep the character’s face, actions, original camera movement, and body motion unchanged.
Another option for a softer visual direction:
Convert the footage into a gentle hand-drawn animation style with warm pastel colors, soft outlines, and dreamy afternoon light. Keep the original composition, character movement, and camera framing unchanged.
The main caution is that extreme style changes can alter facial details or reduce realism. If the video depends on a recognizable face, product, or branded element, keep the style direction controlled. A balanced style prompt usually works better than a long list of conflicting aesthetics.
Scene Transfer: Replace Backgrounds Without Reshooting
Scene transfer is one of the most practical AI background changer workflows. It allows creators to keep the subject and action while replacing the surrounding environment. This can save time, budget, and production effort, especially when the original footage has a clean subject and a background that is easy to separate.
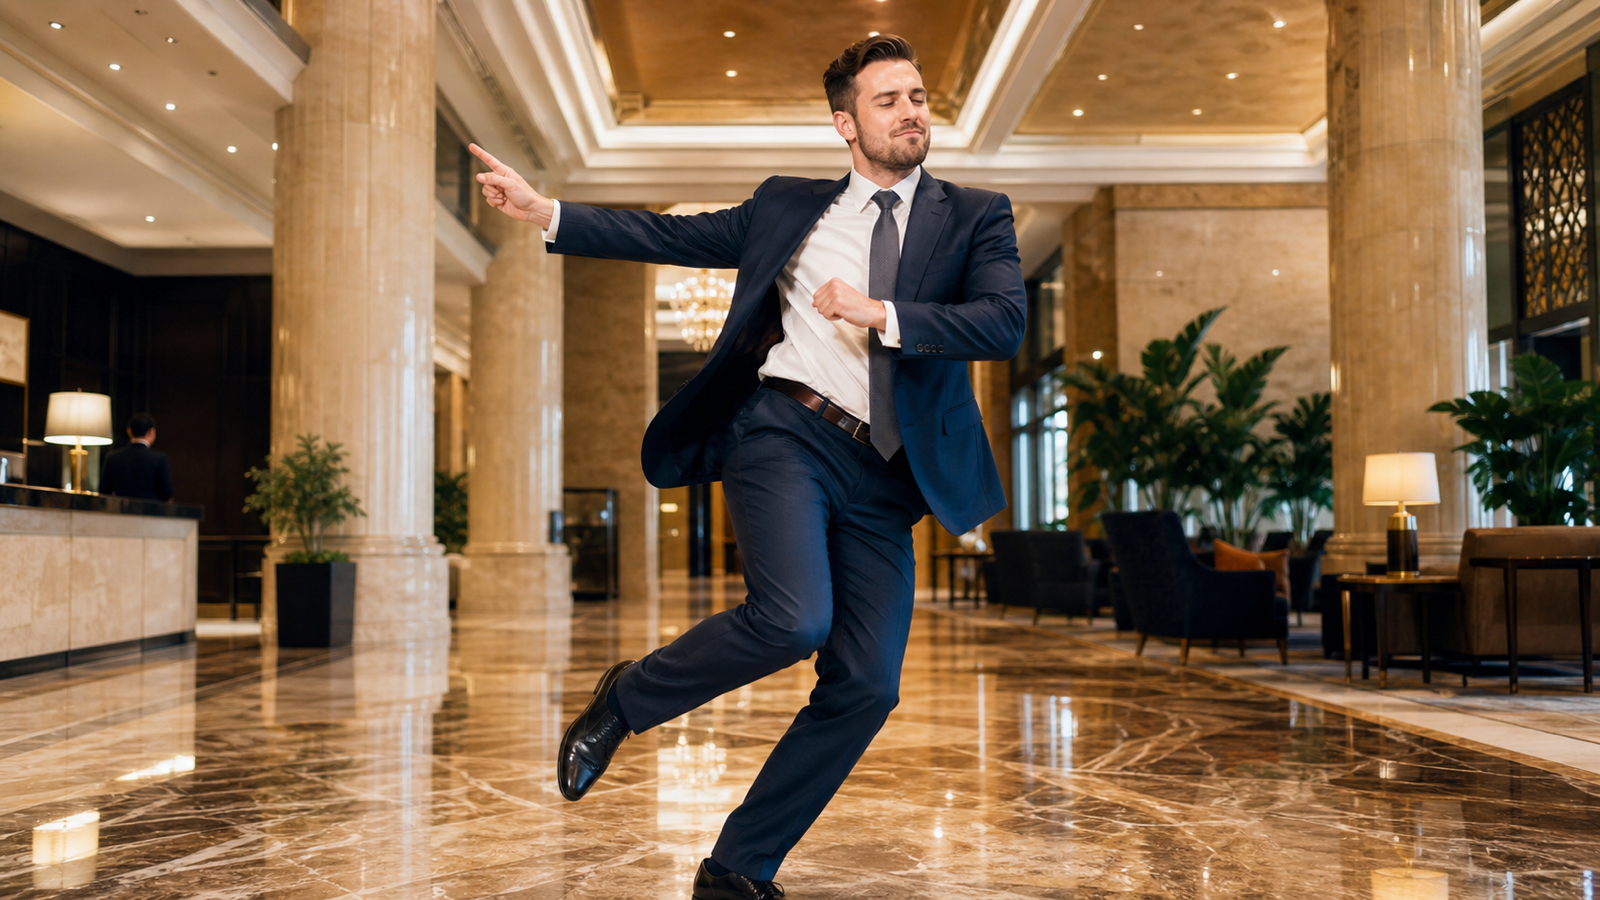
Common scene transfer ideas include changing a desert into an ocean, an office into a fashion runway, a simple wall into a high-end studio, a modern street into a fantasy marketplace, or a plain room into a luxury hotel lobby. This is also useful for creators who want an AI video background remover style workflow without doing traditional manual masking and compositing.
The key to a good scene transfer is lighting consistency. If you move a person from an indoor room to a snowy mountain landscape, the subject should not look pasted onto the background. The prompt should ask the model to match the lighting, shadows, and color tone to the new scene.
A strong scene transfer prompt might say:
Replace the background with a snowy mountain landscape at sunrise. Keep the person’s body movement, facial expression, outfit, and camera angle unchanged. Adjust the lighting on the person to match the bright snow reflections and cool morning atmosphere.
For a commercial or fashion use case:
Change the background from a plain studio wall to a high-end fashion runway with blurred audience lights, reflective black floor, and professional spotlights. Keep the model’s walking motion, face, outfit, and camera movement unchanged.
Scene transfer is powerful, but it works best when the original subject is clear. Complex interactions with the environment can be harder. For example, if the subject is leaning on a railing, sitting on a specific chair, or touching a wall, the new scene must include a believable replacement surface. Otherwise, the edit may look inconsistent.
Subject Replacement: Change Outfits, Props, or Products
Subject replacement allows users to change objects, clothing, props, hairstyles, packaging, or products while keeping the rest of the video mostly intact. This is valuable for fashion, e-commerce, product marketing, and advertising because one source video can become many variations.
For example, a creator can replace a red T-shirt with a white linen shirt, swap a coffee mug for a wine glass, replace a handbag in a walking clip, or test a new product package in an existing commercial shot. Brands can use this approach to produce different versions of AI video ads without filming each version separately.
Reference images matter in subject replacement. If you want to replace clothing, provide a clear image of the new outfit. If you want to replace a prop, use a front-facing product image with good lighting. If you want to change packaging, make sure the label and shape are visible. The closer the reference image is to the original video’s angle and lighting, the better the result is likely to be.
A subject replacement prompt might say:
Replace the red T-shirt with the white linen shirt shown in the reference image. Keep the person’s face, body movement, background, lighting, and camera motion unchanged.
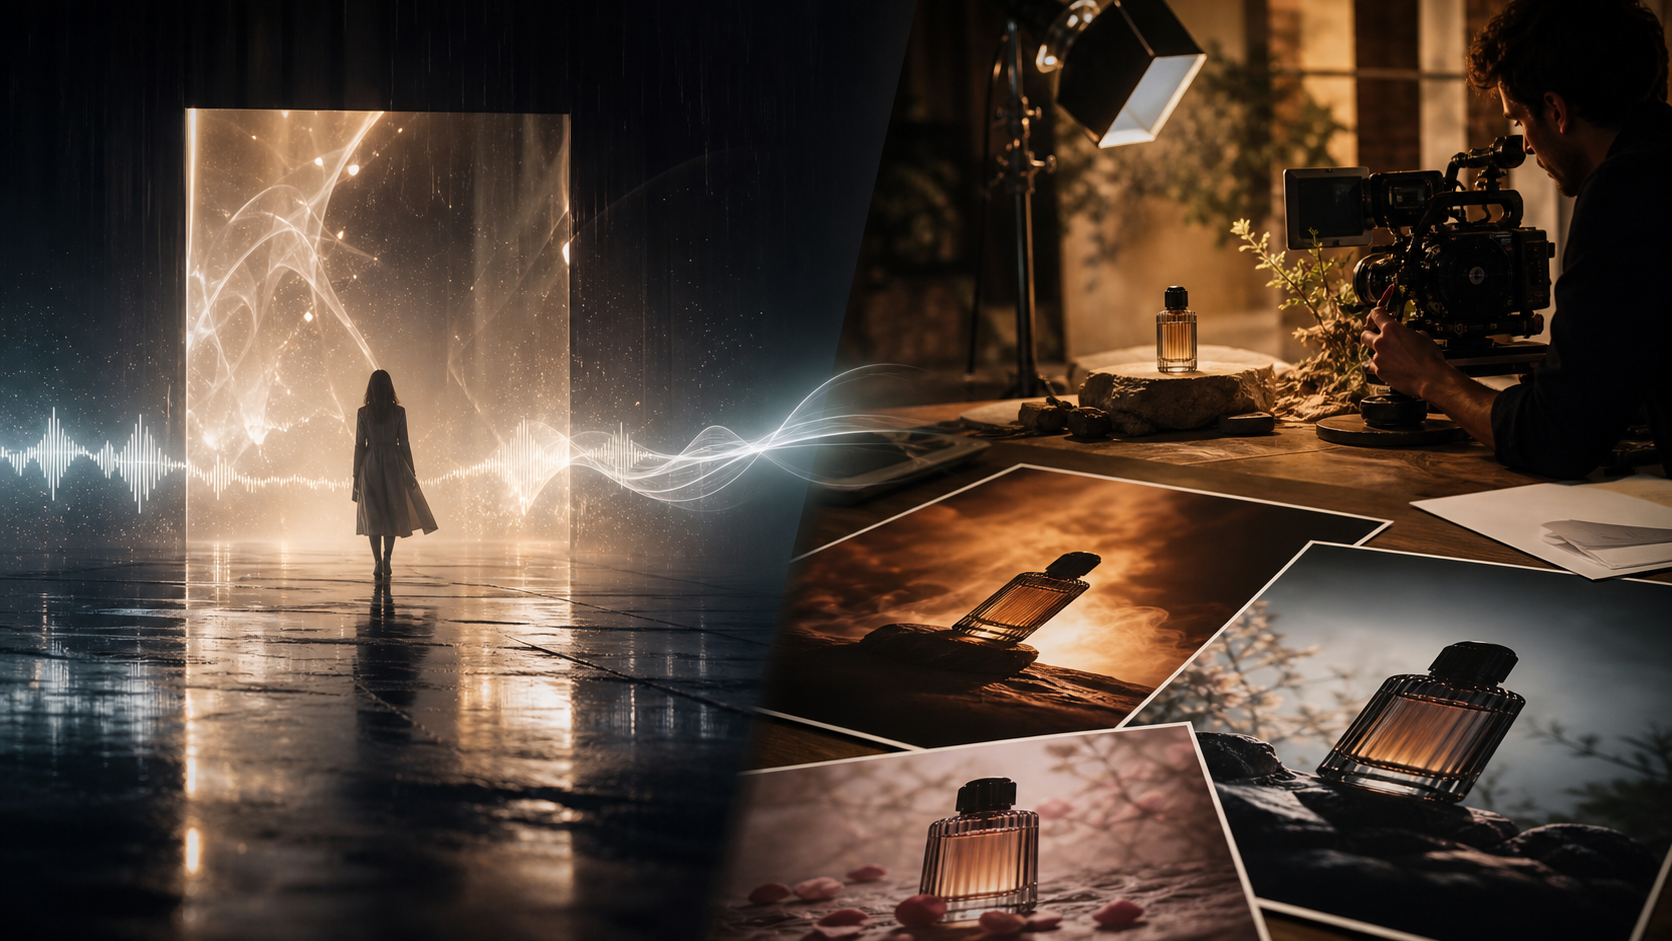
For product testing:
Replace the original perfume bottle on the table with the black glass perfume bottle from Image 1. Keep the hand movement, table surface, background, lighting, and camera angle unchanged. Make the new bottle blend naturally into the scene.
This kind of prompt works because it defines both the edited item and the protected elements. It also tells the video editing AI not to change the whole scene unnecessarily.
Green Screen and Background Replacement for Social Videos
Green screen and plain-background editing are strong use cases for AI green screen video workflows. Many creators film themselves in front of a simple wall, a plain room, or a green screen because it is easy and fast. The problem is that the raw footage may not look polished enough for social platforms, product campaigns, or branded content.
With prompt-based editing, the background can be replaced with a modern studio, a podcast room, a fashion runway, a clean commercial set, a futuristic digital interface, or a cozy lifestyle space. This gives creators more visual variety without requiring multiple physical locations.
A social video prompt might say:
Replace the green screen background with a modern podcast studio, warm lighting, soft depth of field, blurred shelves in the background, and a professional creator setup. Keep the speaker’s face, gestures, original camera framing, and voice unchanged.
For a product creator:
Replace the plain background with a bright beauty studio featuring soft pink lighting, clean shelves, and a premium skincare display. Keep the creator’s face, hand gestures, product bottle, and camera framing unchanged.
This workflow is helpful for social media because it turns simple footage into a more branded and intentional clip. It can also support short ads, tutorial videos, influencer content, and creator-led product demos.
Multi-Element Editing: What to Change and What to Keep
Multi-element editing means changing more than one part of the video at the same time. For example, a user may want to replace an outfit, change the background, and adjust the lighting in one edit. Another user may want to swap a product, add a luxury studio scene, and apply commercial color grading.
This type of AI video editing is powerful, but it needs a very clear prompt. The more changes you request, the more important it becomes to separate each instruction. A good multi-element prompt should avoid vague wording and use a structured sequence.
A practical format is:
Change A to B. Replace C with D. Adjust E to match F. Keep X, Y, and Z unchanged.
For example:
Replace the woman’s outfit with the black evening dress from Image 1, change the background to the luxury hotel lobby from Image 2, and adjust the lighting to a warm golden tone. Keep her face, walking motion, pose, expression, and camera movement unchanged.
Another example for a product campaign:
Replace the product packaging with the new blue bottle from Image 1, change the background to a clean bathroom shelf scene, and add soft morning light from the left side. Keep the hand movement, product scale, camera angle, and overall timing unchanged.
Multi-element editing should be used carefully. If you ask for five or six major changes at once, the result may become unstable. For complex edits, it is often better to split the work into multiple rounds. First replace the background, then swap the product, then apply color grading or style transfer.
Best Prompt Templates for HappyHorse Video Editing
Templates are useful because they help creators avoid vague instructions. The following examples can be adapted for Happy Horse AI editing workflows.
Background Replacement Template
Replace the original background with [new environment]. Keep [subject], [motion], [camera movement], and [facial expression] unchanged. Match the lighting and color tone to the new environment.
Example:
Replace the original background with a modern office overlooking a night city skyline. Keep the speaker’s face, hand gestures, camera angle, and voice unchanged. Match the lighting to a soft indoor evening tone.
Style Transfer Template
Transform the video into [target style], with [lighting], [color palette], and [texture]. Keep the original actions, composition, and camera movement unchanged.
Example:
Transform the video into a vintage 1980s film look, with warm color grading, soft grain, slight lens bloom, and nostalgic contrast. Keep the subject’s movement, face, and camera framing unchanged.
Subject Replacement Template
Replace [original object / clothing / prop] with [new reference]. Keep all other elements unchanged, including the background, lighting, subject movement, and camera angle.
Example:
Replace the black backpack with the leather handbag shown in Image 1. Keep the person’s walking motion, outfit, background, shadows, and camera movement unchanged.
Scene Transfer Template
Move the scene from [original setting] to [new setting]. Preserve the subject’s action, pose, scale, and camera motion. Adjust shadows and highlights to match the new scene.
Example:
Move the scene from an indoor café to a seaside terrace at sunset. Preserve the person’s sitting pose, coffee cup interaction, and camera framing. Adjust highlights to match warm golden-hour light.
AI Video Ads Template
Turn this footage into a polished AI video ads style clip by improving lighting, replacing the background with a clean commercial set, and keeping the product clear and stable throughout the video.
Example:
Turn this footage into a premium skincare ad by replacing the background with a clean white studio, adding soft beauty lighting, and keeping the product bottle sharp, centered, and stable throughout the video.
Recommended Tool: Use Happy Horse AI on VideoWeb AI
For creators who want to edit existing footage with prompt-based control, Happy Horse AI on VideoWeb AI is a practical option to explore. It fits workflows where users want to replace backgrounds, change styles, swap products, adjust scenes, or create more polished social and commercial clips.
The model is especially useful for people who need an AI video editor that can preserve motion and composition while making targeted changes. That makes it relevant for social media creators, e-commerce sellers, short-drama teams, product marketers, AI avatar creators, and advertising teams.
The best way to use it is to prepare clear source footage, choose the exact editing goal, and write a prompt that separates changes from protected details. Instead of asking the model to “make it better,” tell it what background to replace, what style to apply, what subject to keep, and what motion must remain unchanged.
More Models and Tools to Explore on VideoWeb AI
If you want a broader creation workflow beyond editing, try VideoWeb AI’s main AI Video Generator. It is a useful starting point for creators who want to generate clips from ideas, images, or creative prompts.
For cinematic generation, Google Veo 3.1 on VideoWeb AI is worth exploring. Creators who want another strong video-generation workflow can also try Seedance 2.0. For high-control generation and storyboard-style workflows, Kling 3.0 is another relevant model page.
If your work focuses on image-to-video, character ideas, or fast social clips, Vidu Q3 and Vidu 2.0 are also useful options to compare. For another creative video model direction, you can check Runway AI on VideoWeb AI.
A practical workflow is to use Happy Horse AI for editing and transformation, then compare other VideoWeb AI models when you need new generation, image-to-video experiments, or cinematic prompt-based production.
Related Article
- Happy Horse 1.0 vs Seedance 2.0: Which AI Video Model Fits Creators?
- How to Create Stunning Videos With an AI Video Generator Free Online
- VideoWeb AI Video Generator 2026: One Hub for Every AI Video Workflow
- Kling 3.0 on VideoWeb AI: What’s New and How to Get Cinematic Results
- Veo 3.1 vs Sora 2: Which AI Video Model Performs Better?
People Also Read
- Veo 3.1 Video Generation Guide: How to Create Cinematic Clips
- How to Use DreamMachine AI’s AI Video Generator for Text and Image Workflows
- How to Use Sea Imagine AI’s Image Generator: A Beginner-Friendly Tutorial
- Wan 2.6 vs Kling 2.6: The Editor’s Guide to Realism vs Motion Control
- Best AI Video Models 2026: The Ultimate Guide to Image-to-Video Generation